DIY Homework Station

If your looking for an easy way to stay organized this school year, a homework station is the way to go.

With all the notices, art work and documents that are sent home with your kids, it would be great to have a practical place to keep them. (Rather than piled up on the computer desk or kitchen table).

This DIY homework station is so easy to make. Even better, the cost of the supplies are so cheap!!

Here's what I used

  • Ikea Pluggis Magazine File (Set of 2), Ikea.com
  • Ikea Pluggis Bin w/ Cover, Ikea.com
  • Glass Canisters, 4,  Dollar Store
  • Folders (3 Pack), Target
  • Rust-oleum Specialty Metallic Spray Paint, Gold
  • Rust-oleum Painters Touch Spray Paint, Ocean Mist Gloss

First I started with my single most favorite thing to do, spray paint!! 

Seriously guys, this is my new favorite hobby. I'm constantly looking around the house for something to update or bring back to life with a fresh coat of spray paint. It's so fun!

Anyway - back to what I was saying - take the glass canisters and head outdoors. (I know that some people spray paint indoors with the windows open, but I don't recommend that). 

Place a cloth or large paper on the ground if you like. My backyard currently has a slab of concrete in one section that we are going to be getting rid of. In the mean time, I've named that spot my designated spray paint area. 

Line up all four canisters. I separated the canisters into two groups. You can go crazy an spray paint them in what ever pattern you like.

Spray on two coats. Allow 20 minutes between each coat to be sure that the paint has dried. 

Next take your Pluggis Magazine Files and Pluggis Bin.

Place the magazine files in the bin along with the freshly painted canisters.

Viola! A beautiful and fun homework station! Perfect for the entire school year. 

I think I'm more excited about this project than the kids. Mainly because I know I'm starting the year off with a plan to stay organized. Here's to a great school year.

Comment below with a picture of what you use to keep school paper work organized!!

5 Ways To Keep Your Pool Accessories Organized

Whats better than the summer sun?

Cooling down in a pool!

However -with a pool comes a lot of accessories. Towels, floating devices, goggles, toys. Its very easy to end up with a pile of "pool fun" in the middle of your lawn.

Here are 5 ways you can keep your cool and have your pool accessories organized this summer.

DIY Palette Storage

There are tons of ideas and tutorials on how to make one yourself on Pinterest. You can personalize them to your liking to tie in with the rest of your backyard. It easily holds pool noodles, towels and floats.

https://s-media-cache-ak0.pinimg.com/originals/92/cb/c3/92cbc33f249e085d457fc46ba4102990.jpg

pinterest.com

PVC Pipe Racks

Ahhh, the many uses for PVC piping. This one is perfect for hanging your pool towels on. The cost is likely much cheaper than purchasing an already made outdoor towel rack. Best of all -you can customize it with paint!

Directions for this one can be found here.

Store your pool accessories and towels with a PVC towel rack.

ehow.com

Outdoor Shelving

You can use an outdoor shelving system to organize all of the different items for your pool. Purchase bins from your local dollar store and spray paint them with chalk paint. This will allow you to label the bins and change as the summer goes on.

Get your backyard organized and ready for winter! Another installment of Fall Organizing Week :-):

onegoodthingbyjillee.com

Towel Hooks

This towel hook blends modestly into the decor of your outdoor living space while adding a sense of style all at the same time.

https://s-media-cache-ak0.pinimg.com/564x/2a/85/8d/2a858d8d6afe6b7b04295e5b4d21f388.jpg

DIY link here.

Search, Purchase, Enjoy

I'm all about DIY. However, if DIY is not budgeted in your schedule this summer, you can purchase your way to an organized pool area.

poolorganize2

blog.potterybarn.com

With these organizing ideas, you'll be enjoying the summer sun clutter free for the entire pool season.

What are some ways you keep your pool accessories organized? Comment below.

Tips For Getting Your Kids to School Ontime

With daylight savings behind us, my family has been feeling the pain when it comes to waking up in the morning. Needless to say, we have had a few groggy, rushed mornings.

Any parent knows that school mornings are usually filled with constant rushing and the occasional meltdown (by parent or child). Even on the smoothest mornings there is the inevitable road block that derails the entire rest of the morning.

There is hope!! I promise you. Here are some things you can do the night before to prepare you for the morning ahead.

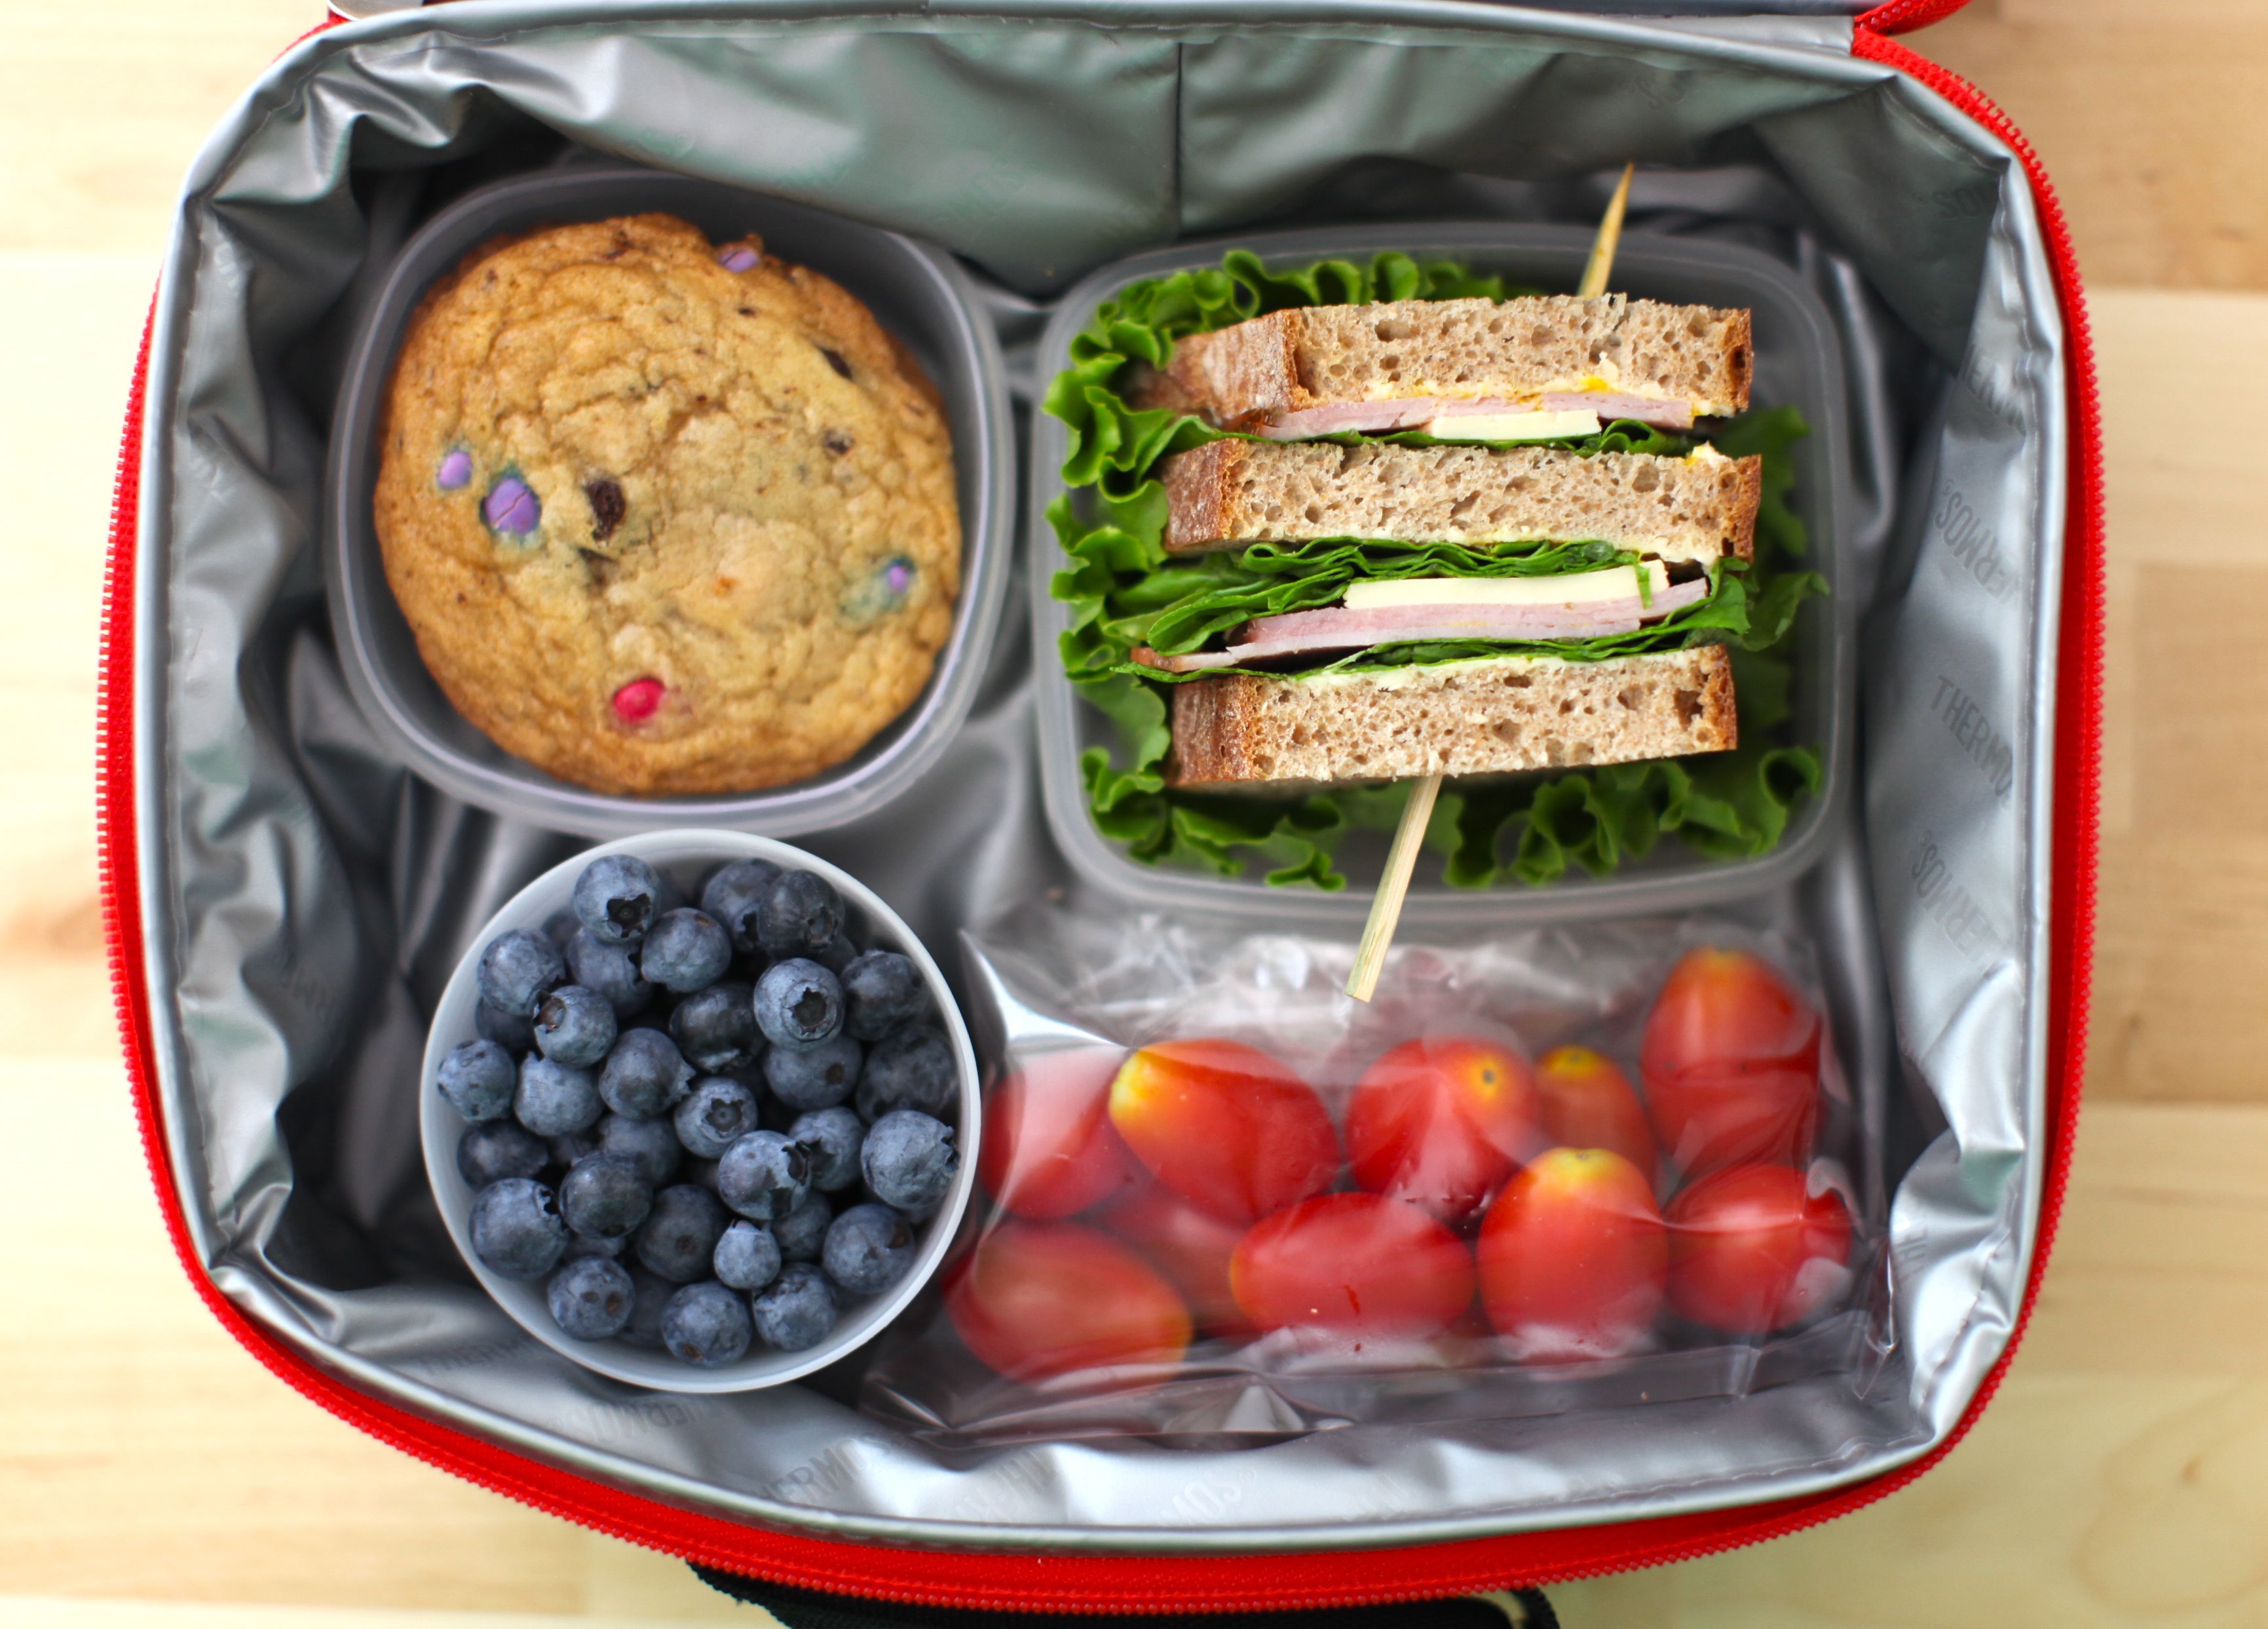
Pack Lunches and Snacks

Doing this ahead of time also lets you plan what type of lunch your child will eat the next day. No more rushed, unplanned lunches. You can even use this as a time to experiment with different tastes and texture to see what your little one likes.

simplebites.net

Pick Out Clothes

No more wrinkled clothes or mix and matched socks for your little one (unless, of course, that was the plan). Picking out clothes the night before takes away the wardrobe anxiety and stress for your early mornings. 

Remember to be mindful of what classes your child has the next day and prepare accordingly.

Check to see what classes your child has the following day

And speaking of preparing for special classes, it helps to know their schedule so that you can plan accordingly. For example, is tomorrow a gym day? It would be helpful to take all jewelry off the night before.

Write out any notes to teachers

A rushed note in the morning could mean that you left out important information that you want to relay to your child's teacher.

Set Out Backpacks by the Door

This doesn't need much of an explanation. We as parents know the importance of having your stuff ready and waiting at the door. 

themombot.com

 Set Table for Breakfast the Night Before

apartmenttherapy.com

No need for anything too elaborate.Use the time that you would spend on setting the table towards something else in the morning.

With these tips, your mornings are sure to go much smoother! What are your morning time saving tips? Comment below.

DIY Thanksgiving Leftovers Bag

With Thanksgiving fast approaching, I'm sure your getting all of your last minute dinner and party preparation in order. One largely over looked item for dinner guests are take home or "leftover" bags.

There are so many options out there for personalizing your leftovers bags. But if you find yourself in the eleventh hour of dinner planning and have no time to run out to the store and find special take out bags, no need to worry. Here is a quick and easy way to add some festivity and to personalize your guests leftovers.

What You Need

  • Any size brown paper bag. (The larger, the better)
  • Chalk
  • Chalkboard tags ($1, Target)

How to Make It

  • Take the paper bag and punch out a hole at the top of the bag. If you don't have a hole puncher, just use a pen and press the point through to make a hole.
  • Take the chalkboard tag and chalk. Write your guests name and a funny or cute note if there's room
  • Un-tie the string and fish the string through the whole in the paper bag. Re-tie string.
  • Place on the side for your guests to add what they want to there bag.

 It's that easy. The whole process took me less than 5 minutes to make. This is even a fun project that you can have the kids do while your meal prepping.

I hope everyone has a great Thanksgiving! Enjoy!

The Family Command Center

Imagine a place where school notices actually get "noted" and meals for the week are carefully written down.

"When was that birthday party again? - Oh right, Sunday at 2pm." This is all possible when this system is put into action. If your not quite sure how to get your family command center up and running, check out these ideas below.

The Perfect Space 

In order for your family command center to work best for you and your family, you need to right spot for it. Some possible spaces are the mud room, right by the back door or front the entrance. The point is to create this space where your family will be able to utilize the space more.

huffingtonpost.com

durasupreme.com

A Basic Calendar

This is an absolute necessity in a command center. On here you'll jot down all important dates (doctors appointments, birthdays, school events). When the new year is up, I make sure to hold onto my calendar from the previous year to copy over birthday dates and anniversary. (Because who has time to remember ever special date?) After that be sure to toss the old calendar.

A basic calendar with large spaces to write in is perfect for the family command center

An In and Out System

Wall pockets or just two baskets work perfect for this system. Label them "In" and "Out". You can even get specific by having separate sections for each of your children. These are great for placing important forms that you will need in the near future. Instead of leaving them laying around the house (on the kitchen table, coffee table, bedside table - wait - where is that permissions slip?) there is a designated spot for all paper notices.

homeplan-it.com

Opt for wall mounted baskets to save on space.

dotandbo.com

The "Write" Tools

Whats a command center with nothing to write with? 

Be sure to make a spot for pens, pencils, highlighters and markers. If you have a dry erase board in your command center make sure to include dry erase markers.

Important Essentials

These would include your kids school/class information and any important phones numbers. Keep these items in folders, binders or accordion style folders.

Memo Board

This could be a dry erase board that doubles as a magnet board. Or a corkboard where you can stick your memos on with a push pin. And speaking of push pins...

Adorable Extras

Threshold Owl Push Pins Gold, target.com, $4

 Who says your command center has to be boring? Make it a point to add some character and charm to this important space. After all, you'll be using it on a daily basis - why not have something pretty to look at?

 From decorative push pins, pretty pens to sophisticated frames - the ideas are endless when it comes to adding character to your family command center.

Space for Backpacks/coats

The purpose of the family command center is to make your life run smoother. School mornings can be extremely rushed and stressful. Make these mornings easier by having your kids school items laid out. So in the morning, they can just "grab and go" on the way to the bus stop.

via serenityblognow.com

A space for book bags, shoes and coats is an essential element. You can easily create sections for each child by placing coat hooks on the wall and baskets underneath. One for each child or person in the house.

These are the essentials in creating a family command center. Every family is different and there are some items that you may need to tweak or add to make your own space work best for your family.

What are some items that work best for your family command center? Comment below!

Target Dollar Spot Haul October 2015

Hello again! On another (fairly normal) trip to Target, I passed by the dollar spot section to "see" what I could find. I was "just looking" and stumbled upon some really cool finds.

I thought to myself, I'm overdue for another Dollar Spot Haul. So...in the name of business purposes (wink wink) I thought I'd share my fabulous finds with you loveys. Here are my completely random, absolutely adorable and crazy cheap finds!!

Seriously Adorable Stationary

You can't go wrong with stationary this cute. Plus, now I have an excuse to send notes to friends through snail mail. 

"Hello" Notecards, $1

"Hello" and "Thank You" Notecards, $1

"To Do" Notepad, $1

Oh, So Sweet Office Supplies

Add some sugar sweetness to your office with these cute finds.

Pack of 2 Pens, $2

3 Pack of Folders, $1

Perfect for the Holidays

These seasonal items are perfect for the upcoming entertaining/holiday season. 

Seasonal Candles, $3 each

Pack of 2 Ramekins, $3 each

 ...And Everything Else

While I don't have a specific use for these last items, I'm sure I will find one for them soon.

Chalkboard Tags, $4

These ceramic vases would work well as a pen holder in the home office.

Ceramic Decor Vases, $3 each

Lastly, I would like to give a special thanks to my "photography assistant". Its hard to find good help out there ;-)

The best "photography assistant" ever!

 I love the items that I picked up at the Target Dollar Spot. I definitely held back on purchasing a lot more. What are some of your favorite dollar spot finds? Let me know! Comment below.

7 Ways to Use Your Ice Cube Trays

Are you in need for a quick organizer for items in your home? Do you have multiple ice cube trays laying around the house? If so, here are 7 great ways you can put them to use!

Jewelry Organizer

Ice cube trays are perfect for organizing your smaller jewelry pieces. Use the cubes to separate your earrings, rings and even your earring backs!

Photo via: Pintrest.com

Freeze Baby Food Into Perfect Portions

With my little one quickly approaching the six month mark, I am happy to be able to put this idea to use. No need to purchase those small containers to separate and freeze your homemade baby food. Simply use an ice cube tray. You can even label the contents of each square with what fruit, veggie or meat is inside. The best thing about this is that each frozen cube is the perfect serving size of food for your little one.

Photos via: budget4baby.com, lifehack.org, health.com

Make the Perfect Coffee Ice Cubes

Need a real pick me up during the hot weather months? Freeze your favorite brewed coffee into ice cubes and use them in your iced coffee.

Photos via: coffeeloversofworld.com, kitchentreaty.com

Organize Your Tool Area

Just as you would use an ice cube tray to organize your jewelry, you can organize small items such as screws, nails and other handy items.

Organize Your Kids Lego Pieces

Tired of stepping on lonely Lego pieces that don't have a home? Storing Lego pieces in ice cube trays creates a tidy place for these little toys and allows for easy clean up. Even your little one will love to help!

Photos via: somethingtobefound.com, wired.com, amazon.com

Snack Tray

Set up the perfect portioned "grazing tray" for your little one to snack on healthy treats throughout the day.

Photos via: eatamazing.co.uk, pintrest.com, indulgy.com

Make Up Organizer

Easily organize your eye shadows! The spaces are the perfect size for single eye shadow palettes and allows you to see the colors without having to take everything out.

Photos via: pintrest.com

I love the idea of re-purposing items. What are some other ways that you use ice cube trays? Comment below

DIY Matchbox Car Organizer

Are your kids' Matchbox or Hot Wheels toy cars constantly scattered all over their playroom or bedroom? Sadly, even if you purchased an organizing solution to keep their cars in order, you may find that it creates more chaos than order. A nice bin may seem like a great organizing solution to throw his toy cars into - but what happens when he goes searching for his favorite red race car? Out go the cars - all over the floor.

Well, worry no more!! Here is a genius and visually stunning way to organize all of your kid's mini toy cars:

A DIY toy car organizer made out of stackable wooden shoe racks. I stumbled upon this great idea on pintrest and had to share it with you all! Here's the original post with directions on how to make this genius organizer:

DIY Match Box Car Organizer

I can't wait to try it out and share my version of it with you all. Do you have your own wall mounted mini toy car organizer? Or another great organizing solution for mini cars? Share below!!

DIY Customized Clothes Hook

A good way to stay ahead of your morning rush is to pick your clothes out the night before. The question is where do you put your clothes once you've picked them out? 

Sometimes, there's no place to lay your clothes on without it getting wrinkled. So here is an extremely helpful and super adorable option for your "next day outfit" to hang on: 

A customized clothes hook.

This DIY Customized Clothes hook is so easy to make. You can put your very own phrase or word in the frame and you can choose a frame that matches your room decor. I chose the simple phrase "Tomorrow's Outfit" for this one.

My frame also has two hooks on it, but you can put just one hook in the middle of the frame if that works better for you. 

What You'll Need

  • 2 screws
  • Nail-less Saw-tooth Hanger
  • Hammer
  • Decorative Hooks (make sure the top of the hook is plain and flat to ensure that it will screw onto frame properly)
  • Screwdriver or drill
  • Picture Frame (which ever size you prefer. Mine is a 4"x 6" picture frame from Home Goods)
  • Printing paper (preferably photo paper. So your design will come out with a vivid color)

Choose and design what phrase or word you want to go into the frame. I made my phrase and design in Photoshop. Canva.com or picmonkey.com are two great sites that you can also make your design on.

Next, print out your design.

Measure a spot on your door, wall or in your closet where you want to hang the frame hook.

Drill (or screw with screwdriver) screws into wall where you want to hang the frame hook. Make sure the screws are separated enough to fit snug inside Nail-less Saw-tooth Hanger

Insert Nail-less Saw-tooth Hanger into back top of picture frame. Use a hammer if it is difficult to push in with your bare hands. Don't pound the hammer too hard, you don't to ruin the frame.

Nailess Sawtooth Hangers are available in most hardware stores

Now, screw or drill your hooks into back bottom of frame.

My hooks were missing a screw. So I just used one of my own.

Next, insert your design into frame and hang frame up on wall or door.

Choose a fabulous outfit and hang it on your new customized clothes hook!

Now picking out your clothes the night before work or school has never been so fun!

Try this DIY project! You will love it. 

Send me a picture of how yours comes out and I will post it on this blog and Skeen Concept's instagram. Happy DIY'ing!!

Sanity Saver: Containing the Kids Toys

If your like any parent, you have dealt with this problem: toys, toys, toys - everywhere! 

No worries. An easy, cheap and sanity saving way to contain the toys (even if you already have a toy box) is to place like toys in shoe box containers. These are stack-able, clear containers that can be used for WAY more than just shoes. They stack well in toy boxes - as an easy way for your kids to access the toy that they are looking for. 

You can purchase these clear shoe containers almost anywhere, including the dollar store, Target and Walmart. I personally use these to hold my daughters Barbie dolls and my son's action figures and Legos. Its the best $10 I've ever spent.

Clear Storage Tote, target.com

Problem tackled! 

Do you have any tips on containing your kids toys? Comment below.