
DIY Rustic Industrial Wood Sign
Skeen Concepts is a participant in the Amazon Services LLC Associates Program, an affiliate advertising program designed to provide a means for sites to earn advertising fees by advertising and linking to Amazon.com

I'm so excited to share my latest DIY project with all of you. This is something that I've been wanting to do for the longest time, but for whatever reason, haven't been able to complete until now.

The anticipation of making this lovely Rustic Industrial Wood Sign was eating away at me. I had all the details of what I wanted it to look like planned out, but I was honestly intimidated by the process. Once I started, I realized how fun and easy this project would be.
This wooden sign is something that will grow with my little toddler well into his teen and adult years (here's hoping that he decides to hang this lovely art piece in his future bachelor pad).
If you love this chic and rustic wooden sign - and would like to make one for yourself - just keep on reading below! I had a great time completing this project.

DIY Rustic Industrial Wood Sign
Here are the items you'll need to complete the wooden sign:


(2) 1"x9"x6' wood panels
(1) 1"x3"x6' wood piece
Wood Glue
Screws
Hammer
Screw Drivers
Varathane Wood Stain in Dark Walnut
Varathane Wood Stain in Weathered Gray (Not shown. Optional for gray wash look)
Minwax Pre-Stain Wood Conditioner
Varathane Polyurethane Matte Finish
Large Oil Brush
Paint Sponge
Disposable Gloves
Multipurpose Shop Rags or old T-shirt
Plastic Drape
Hand-Held Power Sander
180 Grit Sandpaper
Here are the items you will need to complete the industrial letters:

8" Paper Mache Letters
Black Acrylic Paint
Metallic Silver Acrylic Paint
Burnt Umber Acrylic Paint
Silver Upholstery Pins
Paint Sponge
Paint Brush
Loctite Liquid Nails (glue)
Start with your 1"x9"x6' wood panels. If you have a table saw at home and know how to use it (thankfully my lovely husband did this for me) you can buy the whole pieces and cut them in half at home. Otherwise you can always ask someone at the hardware store or lumber yard to cut it in half for you.
Once cut in half, you'll be left with 4 panels measuring 9"x 3' long.

You'll only need three of these panels. So set the other panel aside for a future DIY project!
Attach the panels together with wood glue and screws to ensure a secure fit. Take the 1"x3"x6' piece of wood and cut that to use as a brace for the back of your panel.


Now, the fun part begins. Grab your hammer and screw drivers and get ready to take out some pent up anger and aggression out on the wood panels. There is no right or wrong way to go about this. By doing this, you're creating a distressed and aged look on the wood. Have fun!

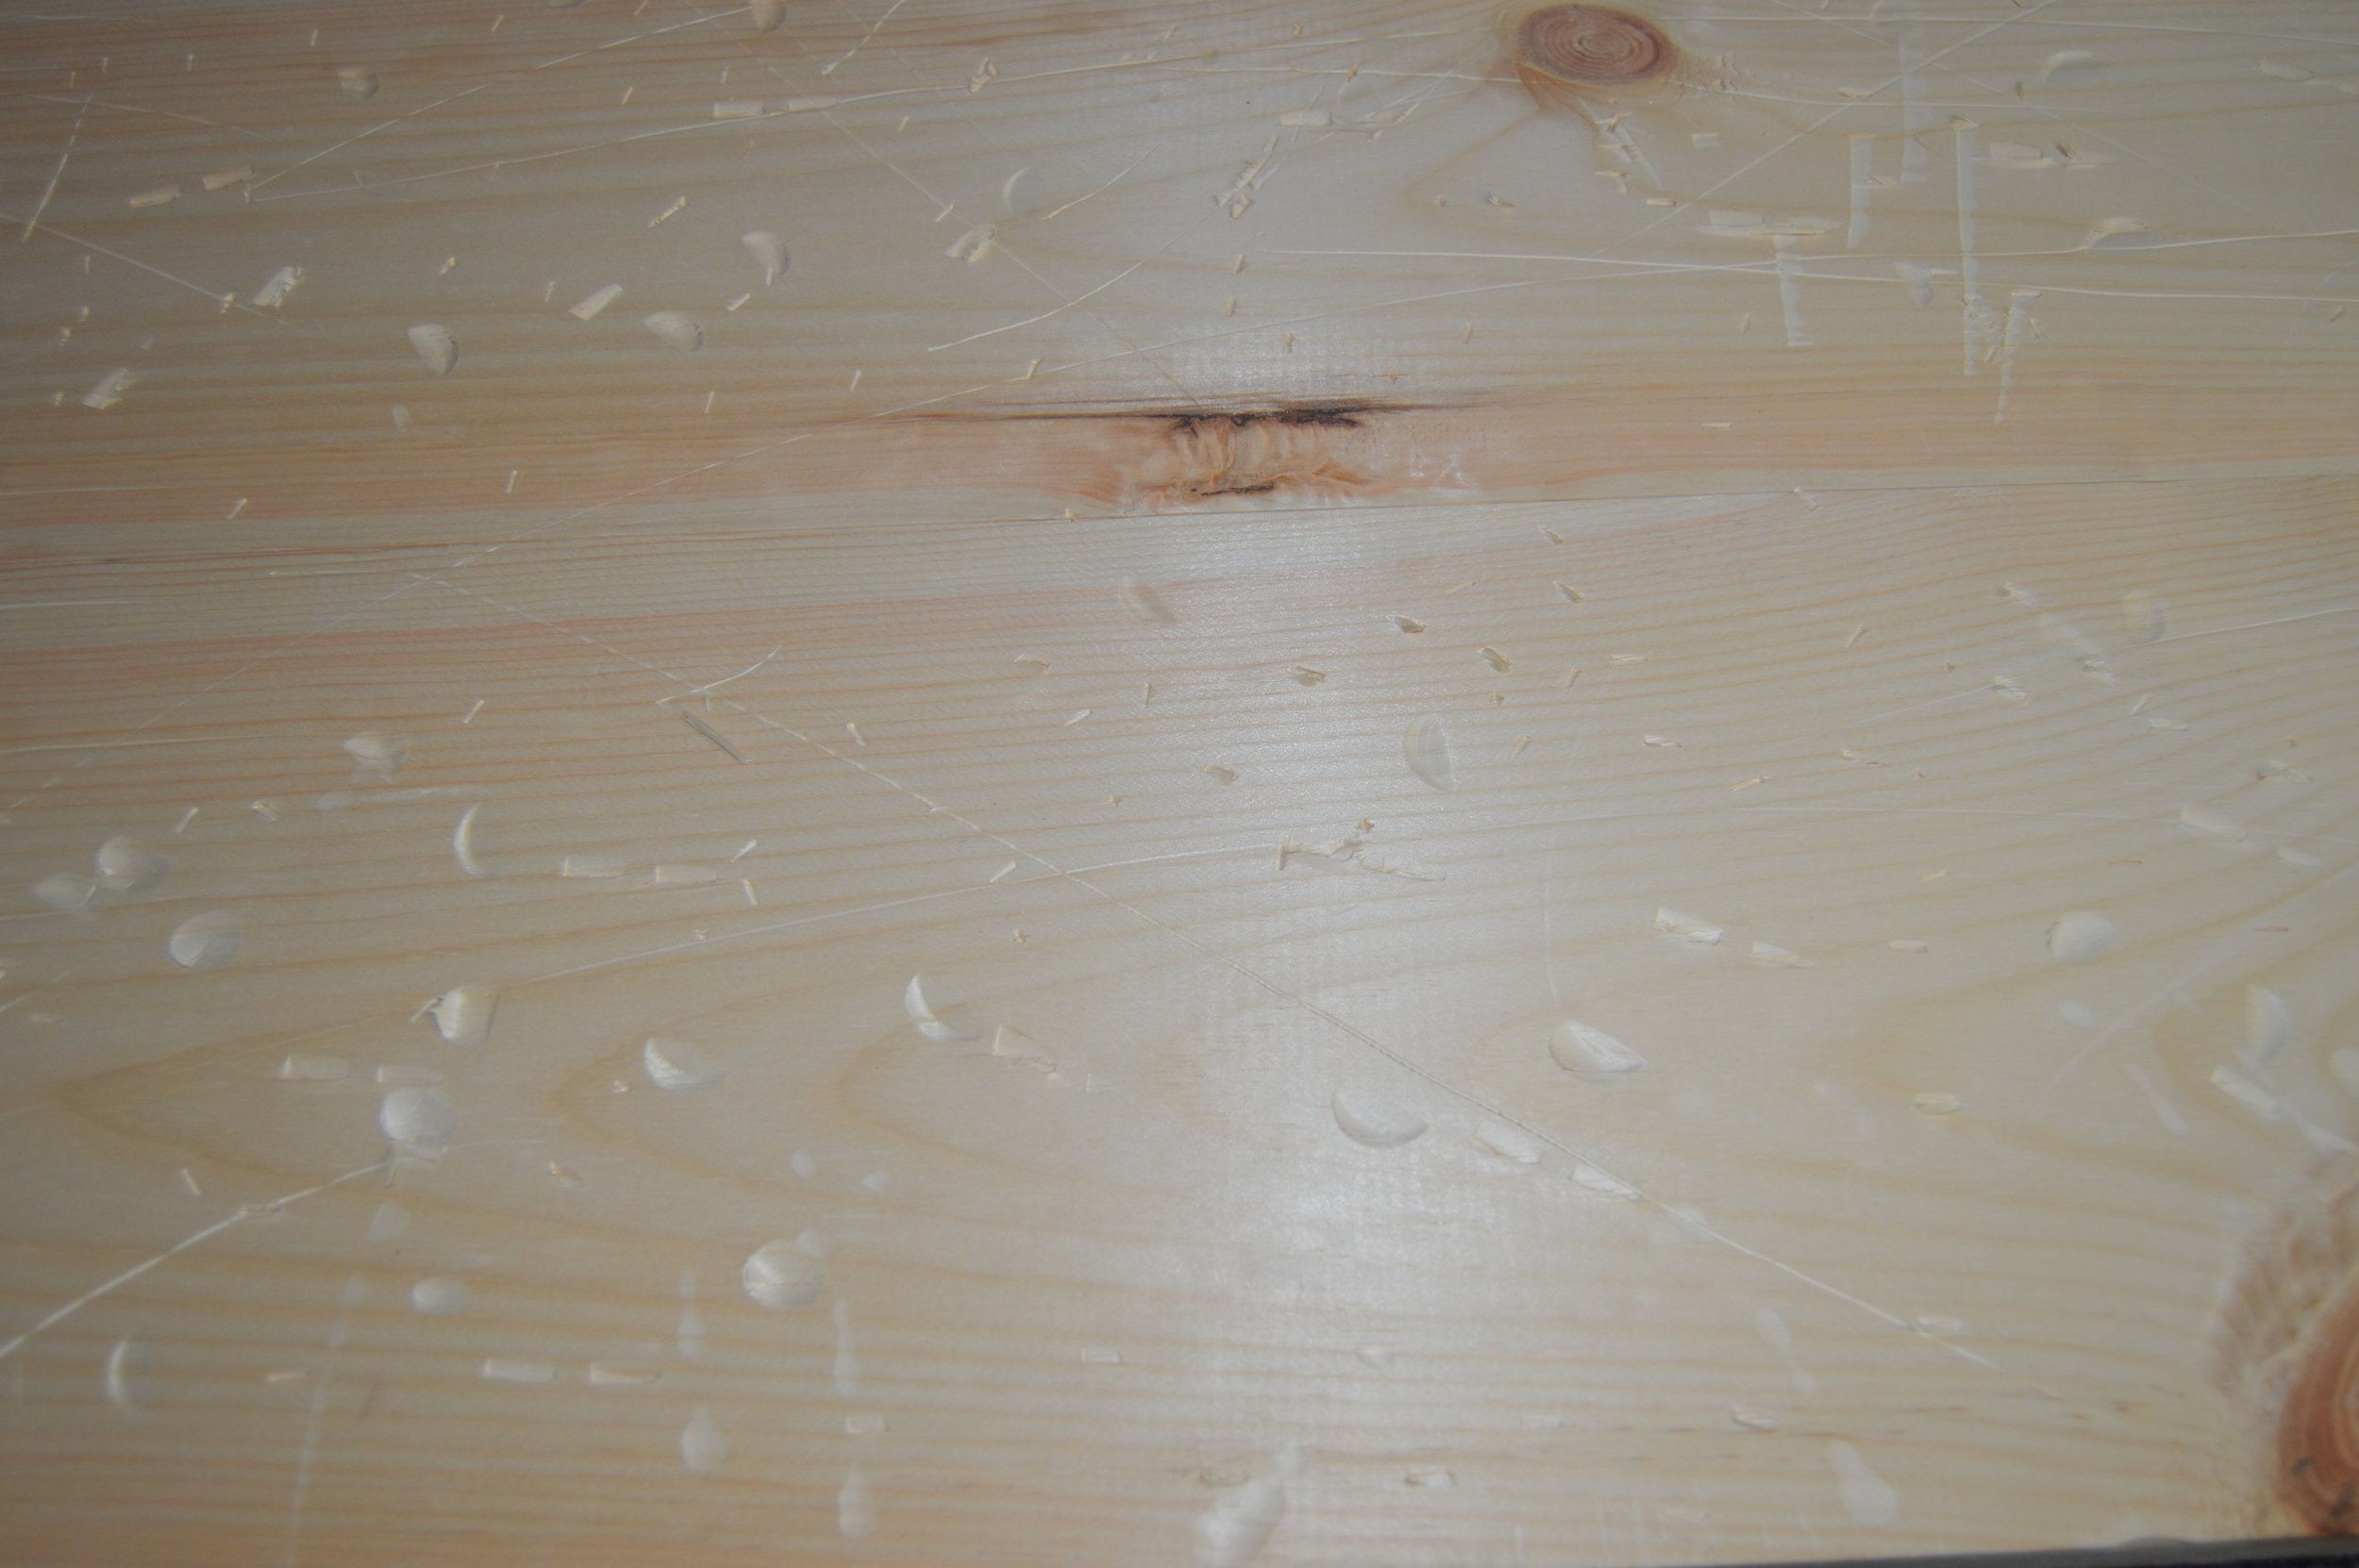
Next, grab your hand sander and sandpaper and smooth out the top and sides of the wood panels. Make sure there are no sharp or splintered pieces left. Wipe down the surface and sides of the wood panels with a clean, dry cloth to remove any dust.

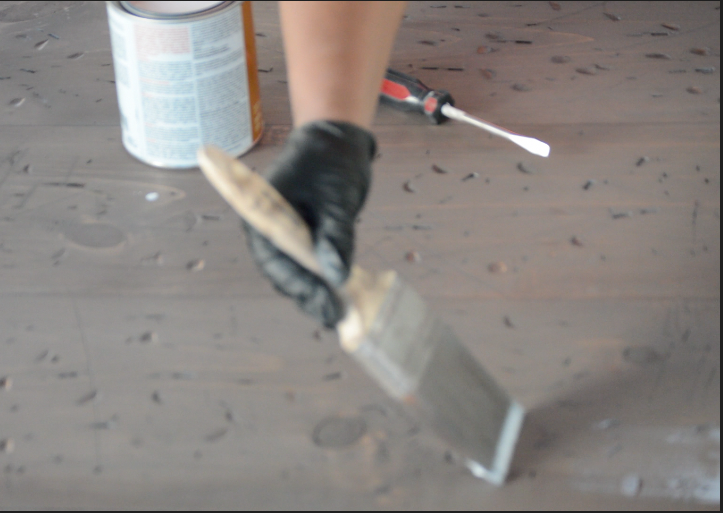
Using the paint sponge and the Minwax Pre-Stain Wood Conditioner, coat the surface and sides of the panels. I can't stress enough how important this step is. Using the pre-conditioner will ensure that your stain spreads nicely and evenly. Allow the pre-conditioner to sit for at least 15 minutes. Wipe off any excess with a clean dry cloth afterwards.

Next, using the oil brush, brush on the Varathane Dark Walnut stain in sections onto the panels.

Then take a cloth and wipe off stain. Do this in sections until the entire surface and sides are covered with the stain. You can repeat this step until you get the desired color your going for. Make sure to allow the stain to set in and dry a bit, at least 10 minutes.

I decided to gray-wash my sign to give it more of a rustic, worn look. If your going this route, repeat the above step that you did with the Dark Walnut color - until the entire sign in covered. I used Varathane stain in Weathered Gray to acheive this look.


Let your sign sit and dry for a while before using the Polyurethane. Apply a thin layer of Polyurethane over the entire sign. Let it dry for a couple of hours, then repeat again. I only applied two coats to this sign. But if you want, you can apply three.
Now, lets create those industrial letters!!

Using a paint brush, paint the paper mache letters with black acrylic paint.

Once dry, paint over the black paint with the silver metallic color. Use irregular brush strokes. This will ensure that the black paint will show through the metallic paint and create the desired "metal" look.

If you want to take it a step further - use a paper towel to "drag" the metallic paint after applying it with the brush. Similar to how you wiped down the stain on the wood. This will give the letters more texture.

Next, take the paint sponge and the Burnt Umber paint. Lightly paint the color sporadically in corners of the letters. This will create a "rust-look".

Once the letters are dry, place the upholstery pins around the corners of the letters.

Almost done!! Are you as excited as I am???

Measure out where you want to place your letters on the wooden sign.

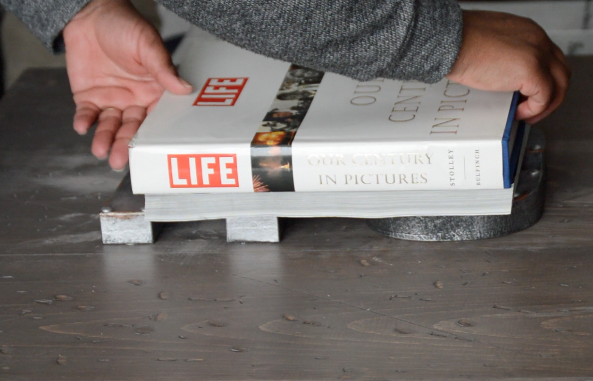
Squeeze glue onto the letters and place them down on the wooden panels.

Apply pressure (without ruining the letters) then place a heavy book onto the letters. Leave it there for an hour to ensure that the letters are secured to wooden sign.
There is it. Your very own Rustic Industrial Monogram Wood Sign!

Now sit back and take it all in.
Have you done a similar rustic industrial inspired project? Let me know in your comments.